How to create and deploy an angular app to docker
Levent Ege MutluNovember 8, 2021
Hi Fellas! 👋🏽
What do you do when you need to build Angular in another environment? You are free to say 'It's working on my computer' or use container of docker instead. Docker is an open source platform for building, deploying, and managing containerized applications. Docker containers can simplify the process of building and deploying Angular applications. In this post, we'll learn how to containerize angular applications with docker.
This post is divided into the following parts:
- Create Angular App
- Create Dist Folder
- Create Dockerfile
- Build Docker and run
So, First We Need an Angular Application
I'm going to create an Angular Application, and first we have to install Node which is a Javascript Runtime Environment.
We need NPM (Node Package Manager). NPM is a package manager for the JavaScript programming language. We’ll use npm to install packages or libraries.
Then, we’ll generate a new Angular project using the Angular CLI. Install it globally (with the -g flag) using your command line:
npm install -g @angular/cli
Now, we can create an Angular Application using the command line, my project name is angular-docker, and you are free to pick a name to your liking.
Create the application using ng new command:
ng new angular-docker
After creating Angular Application, we go through project folder and run the application:
ng serve
When you see the '✅ Compiled successfully' message in your command line, check the url http://localhost:4200/.
You will see this default welcome page:
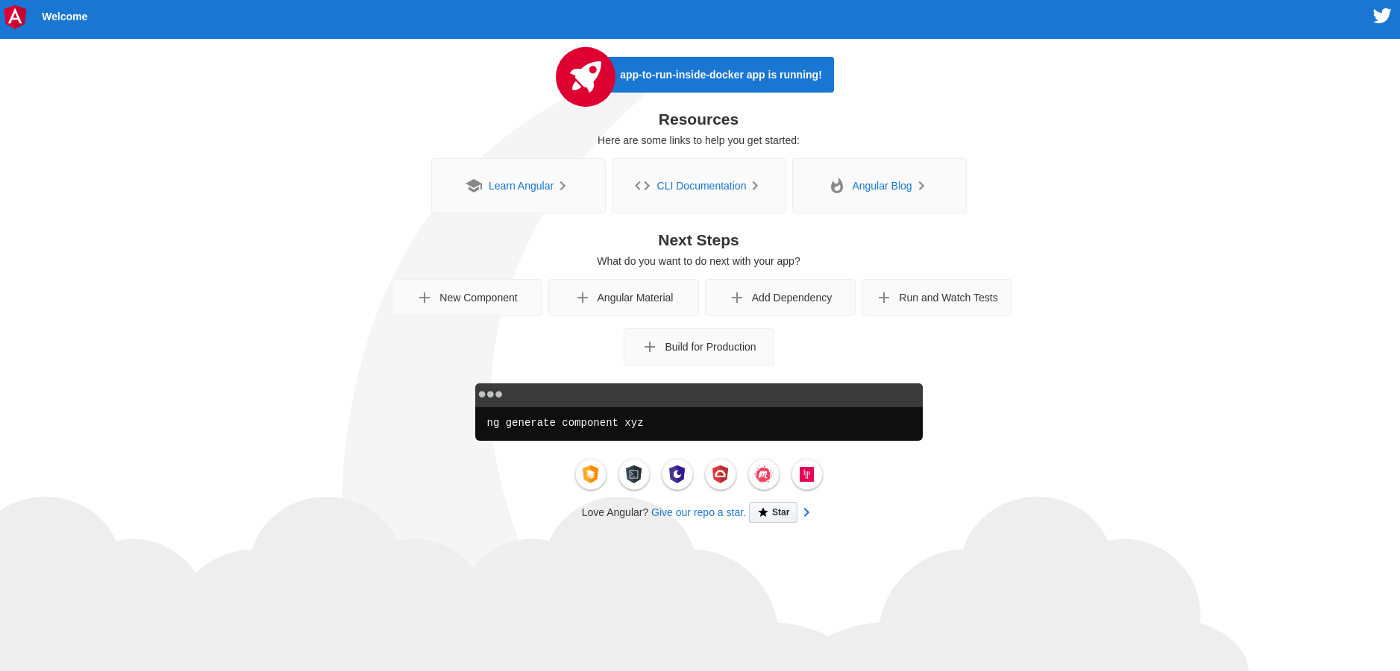
Congrats! We got a working angular application.
First part of post is done fellas!! 💪🏽
Let's Create a Dist Folder
The first thing to do is to build the application and dist folder will be created. In Angular, this is just as simple as running the following command:
ng build --prod
When the dist folder is created, you can see static files in the dist folder. These files are everything you need to show your application to the outside world.
If you haven't struggled so far, we can continue with the rest of the post.
Create Dockerfile
First we start with creating a Dockerfile in route directory of project.
We create a layer from the node:latest Docker image with FROM.
I use node latest version, you can use node specific version as node:16.13.0
FROM node:latest as node
Bundle everything inside an application folder which is called app using below command.
WORKDIR /app
Copy package.json and package-lock.json files of our local application folder to this app folder inside the Docker container. Then run npm install.
COPY package.json package-lock.json ./
RUN npm install
Copy every file.
COPY . .
And build our project.
RUN npm run build --prod
Alpine is the base image which is based on Alpine Linux. So, node:alpine is an Alpine Linux image with node the latest version installed.
FROM nginx:alpine
COPY --from=node /app/dist/angular-docker usr/share/nginx/html
All Dockerfile instructions used above are gathered here:
FROM node:latest as node
WORKDIR /app
COPY package.json package-lock.json ./
RUN npm install
COPY . .
RUN npm run build --prod

FROM nginx:alpine
COPY --from=node /app/dist/angular-docker usr/share/nginx/html
And Finally Build Docker and Run
So, let’s build and run the application with the Docker command angular-docker:
docker build -t angular-docker .
docker run -d -p 4200:80 angular-docker
💥 Let's check http://localhost:4200/ and see running application. That's sort of magic and docker.